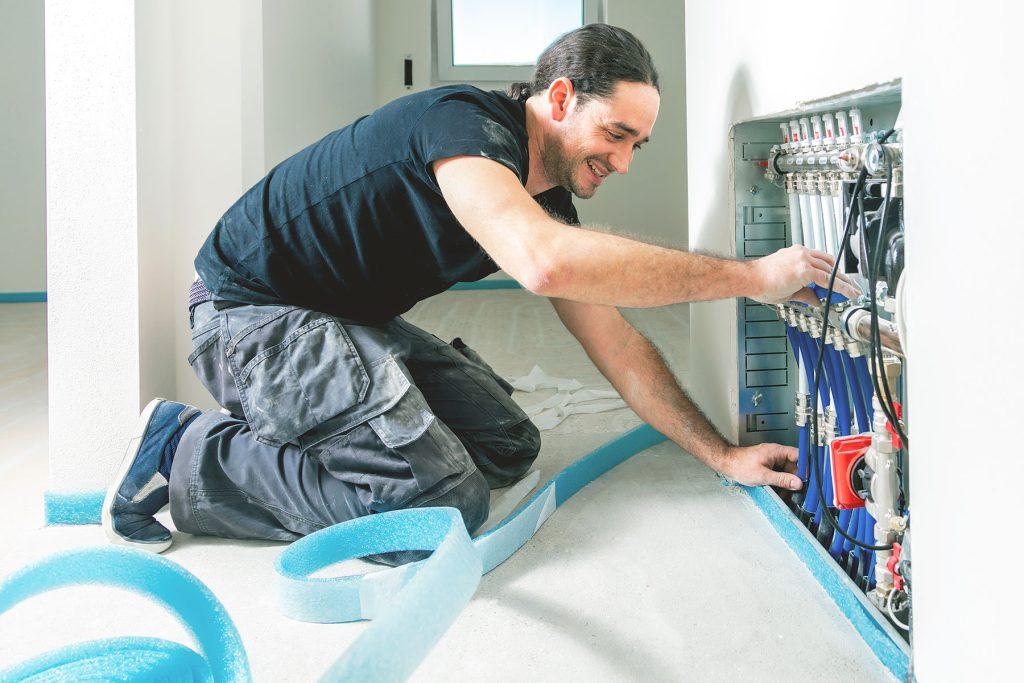
Installing underfloor heating can seem like a big project, but understanding the process helps ease concerns and ensures you’re prepared. Here’s what you can expect during an underfloor heating installation:
1. Initial Consultation and Assessment
- The first step involves a consultation with a heating specialist who will assess your home or building. They will evaluate the type of flooring, insulation, and your heating needs to recommend the best system (electric or water-based).
- You’ll also receive a detailed quote and timeline for the installation. We will be happy to quote for your underfloor heating installation. Just talk to our team to get started.
2. Preparing the Subfloor
- Once you decide to proceed with the installation, the subfloor needs to be prepared. This involves cleaning, leveling, and possibly adding insulation to ensure maximum efficiency of the underfloor heating system.
- In some cases, especially with retrofits, the existing flooring may need to be removed.


3. Laying the Heating System
- For electric underfloor heating, a series of heating mats or cables are laid directly onto the prepared subfloor. These mats are strategically placed to cover the heating zones.
- For water-based systems, a network of pipes will be laid out. These pipes will eventually carry warm water from your boiler or a heat pump to heat the floor evenly.
4. Connecting to the Power Supply or Heating Source
- Electric systems are connected to your electrical supply, typically with a thermostat installed to control temperature and schedules.
- In water-based systems, the pipes are connected to your existing boiler or a dedicated underfloor heating manifold, which manages the flow and temperature of the water.
5. Testing the System
- Once the system is installed, a thorough test is conducted to ensure it’s working correctly. For water-based systems, this includes checking for leaks in the pipe network and ensuring even heat distribution.
- For electric systems, the installer will ensure all circuits are functioning and the thermostat controls are working properly.
6. Installing the Flooring
- After the system has been tested, the final layer of flooring (tiles, wood, laminate, etc.) is laid over the heating system. It’s crucial to use flooring materials that are compatible with underfloor heating to ensure proper heat transfer.
- This phase may add a bit of time to the overall project, depending on the type of flooring being installed.
7. Final Testing and Handover
- Once everything is in place, the system undergoes a final test to confirm it’s fully operational. The installer will also walk you through how to use the thermostat and maintain the system for optimal performance.

Post-Installation Considerations
- After installation, there may be a brief “curing” period, particularly for systems installed with new screed or adhesive, before the system can be used.
- Regular maintenance is minimal, but you’ll be advised on any necessary checks, especially for water-based systems.
Underfloor heating installation, while a significant investment, can greatly enhance your home’s comfort and energy efficiency. With a clear understanding of the process, you can feel confident in the steps required to enjoy a warm and welcoming home all year round.
