26
Jul 2023
How to Pressure Test Underfloor Heating
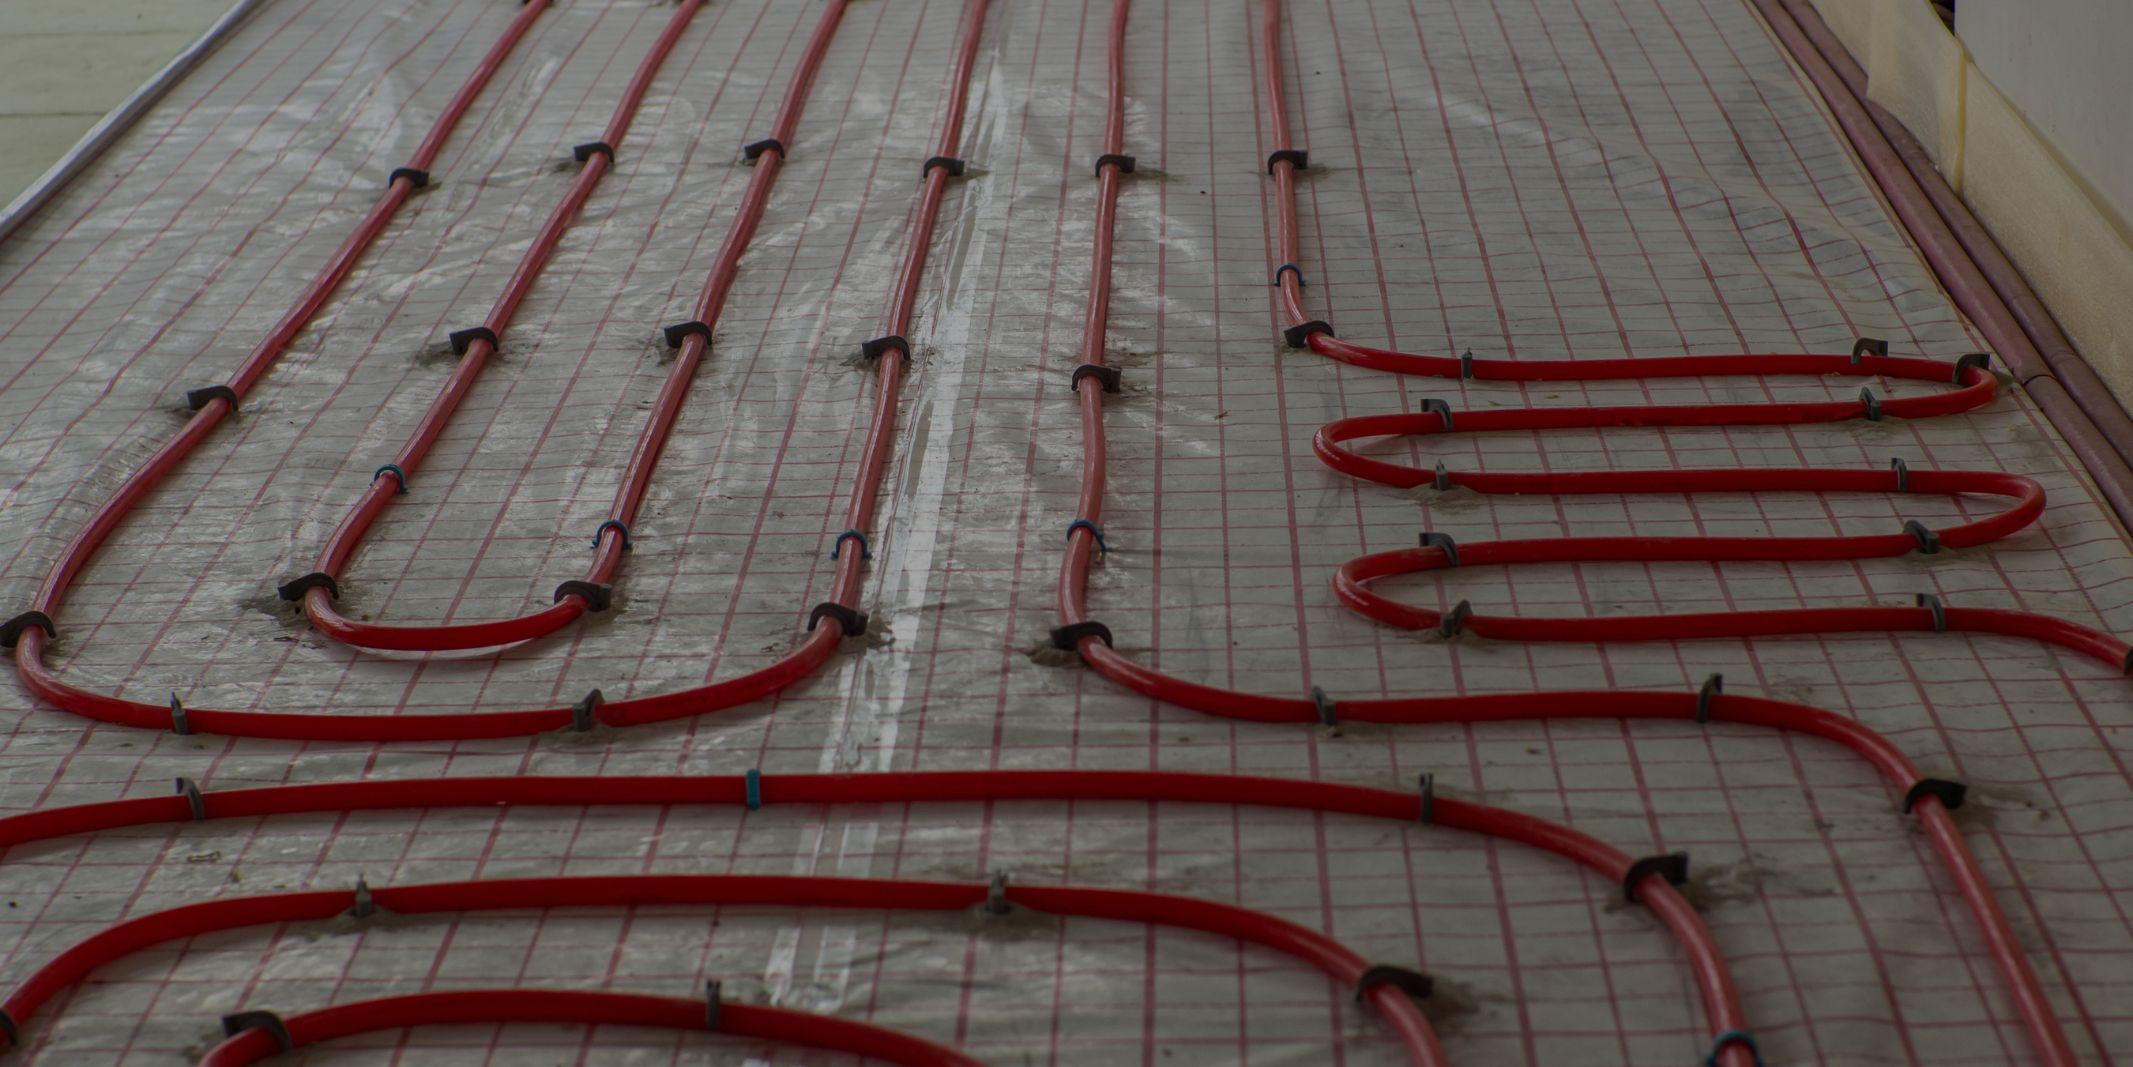
Underfloor heating (UFH) system installation or maintenance must include pressure testing. Before the system is put into use, it aids in finding any leaks or weak points, guaranteeing that the system functions successfully and efficiently. You can check the system’s integrity and take care of any faults by performing a pressure test on underfloor heating, which we will cover in detail in this blog post.
Step 1: Gather the Essential Tools and Materials
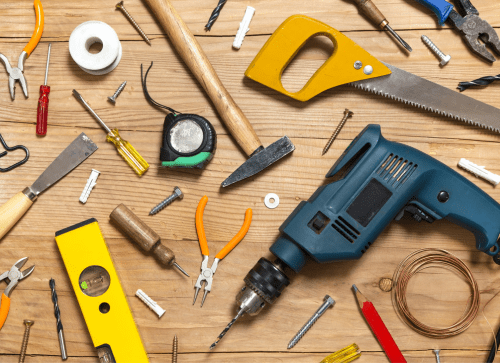
Ensure you have the required equipment and supplies before you start:
- Compressor or pump for pressure testing
- Pressure metre
- For attaching the pressure testing equipment, use the proper adapters and fittings.
- Connecting the pump or compressor to the system using a hose and clamps
- Pipe sealant
By gathering these essential tools and materials, you will be well-prepared to proceed with the pressure testing of your underfloor heating system.
Step 2: Prepare the System for Pressure Testing
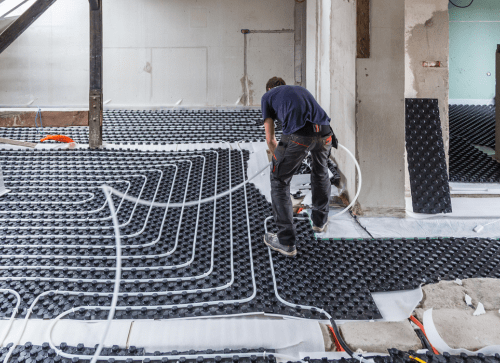
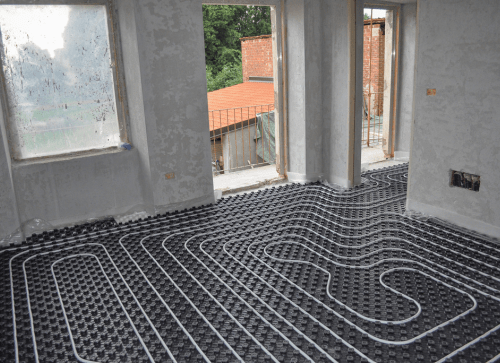
Ensure the UFH system is completely installed, and all connections are made correctly. Close any manual isolation valves, and make sure all connections and fittings are tight. Use temporary caps or plugs to seal off any open ends or incomplete sections of the system.
By properly preparing your UFH system for pressure testing, you establish the foundation for a reliable and effective testing process. Checking the installation, securing connections, closing isolation valves, and sealing open ends or incomplete sections contribute to the overall integrity of the system during the testing phase. This preparation step is essential for obtaining accurate results and identifying any potential issues or leaks within your UFH system.

Step 3: Connect the Pressure Testing Equipment
Attach the air compressor or pressure testing pump to the UFH system using the proper adapters and fittings. To achieve a tight seal on the threaded connections, use Teflon tape or pipe sealant. Verify again that all connections are reliable and secure.
The proper selection of equipment, use of adapters and fittings, application of Teflon tape or pipe sealant, and verification of connection integrity are crucial for conducting a successful pressure test. These measures help ensure that the pressure testing process is conducted accurately and provides reliable results for assessing the integrity of your UFH system.
Step 4: Pressurise the System
Utilising the air compressor or pressure testing pump raises the system’s pressure. Watch the pressure gauge as you gradually increase the pressure to the setting advised by the manufacturer or installation instructions. The typical pressure range for UFH systems is 1.5 to 3 bar (22 to 43 psi). However, you should always check the essentials of your particular system.
Proper pressurisation of the UFH system is crucial for ensuring its functionality and performance. By gradually increasing the pressure, adhering to manufacturer’s guidelines, monitoring the pressure gauge, checking for leaks, and maintaining pressure for an appropriate duration, you can effectively evaluate the system’s integrity. This step is critical in identifying and resolving any potential issues before proceeding with the installation or operation of your UFH system.
Step 5: Inspect for Leaks
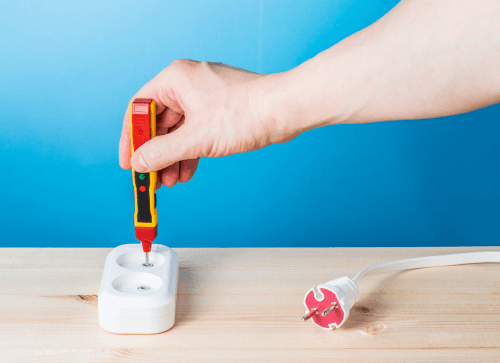
Once the UFH system has reached the desired pressure level, it is crucial to conduct a thorough inspection to identify any potential leaks. Visually check all parts, joints, and connections for leaks when the system has reached the desired pressure level. Attention valve stems, manifold connections, and locations where pipes are linked. Keep an eye out for any obvious water drops, hissing noises, or changes in the pressure gauge since these could point to a leak.
Detecting and addressing leaks at this stage minimises the risk of long-term damage and ensures optimal performance. Regular inspections for leaks are essential to maintain the functionality and efficiency of your UFH system over time.
Step 6: Maintain Pressure and Monitor
Once the UFH system has been pressurised and inspected for leaks, it is important to maintain the pressure and monitor the system for an extended period. Maintain the system’s pressure for a long enough period—generally 15 to 30 minutes—to guarantee any potential leaks become obvious. Throughout this time, monitor the pressure gauge and check for any noticeable dips in pressure that might point to a leak.
By maintaining the system’s pressure for an adequate duration and continuously monitoring the pressure gauge, conducting visual and auditory inspections, utilising leak detection tools if needed, and recording all findings. You can ensure that potential leaks are identified and addressed promptly.

Step 7: Locate and Repair Leaks
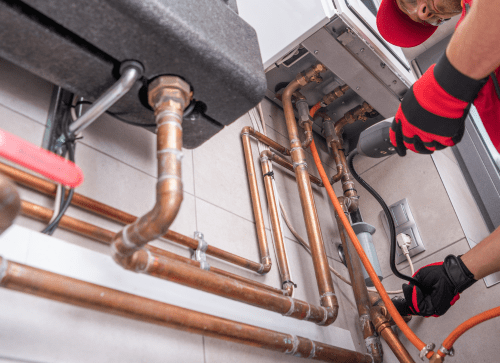
After completing the pressure test and identifying any leaks in the UFH system, it’s essential to address them promptly. Take note of the locations where leaks were detected and carefully release the pressure from the system. Once the pressure has been safely released, you can proceed with repairing the identified leaks.
Identify the locations of any leaks you find during the pressure test, then let the pressure out of the system. Next, fix the leaks by tightening fittings, swapping out broken parts, or taking care of any other problems found. Repeat the pressure test when the repairs are finished to ensure that there are no longer any leaks in the system.
Step 8: Record the Pressure Test Results
Once the pressure test has been successfully completed and the UFH system has been verified to be leak-free, it is important to document the pressure test results. Recording the findings serves as a valuable reference for future use, allowing for easy access to important information about the system’s performance.
Record the pressure test findings for future use when the system has passed the pressure test and been verified to be leak-free. In addition, this documentation may be useful for future troubleshooting or maintenance needs. Regularly updating and maintaining these records will contribute to the overall management and upkeep of the UFH system, ensuring its optimal performance and facilitating efficient maintenance practices.

Pressure Testing Underfloor Heating
Pressure testing is A vital step in ensuring your underfloor heating system is reliable and effective. You can successfully test your UFH system, find any leaks or vulnerabilities, and fix them before the system is placed into operation by using the step-by-step instructions in this manual.
When the system is installed, maintained, or modified, it is advised to do regular pressure tests. It is always important to seek the help of a professional installation or contact JCW Underfloor Heating for advice and assistance if you are unsure how to conduct a pressure test or run into complicated problems.
